Table of contents
Sometimes we need to react to certain events in the browser and write code against them. Maybe we need to listen to a click, input change, focus, or blur. Maybe we need to do something like listen for a click anywhere within the document. Well, good news, we’ve got many ways to do this in Angular. In this post I’m going to show you four common ways.
First, we’ll use a method called event binding.
Next, we’ll use the
@HostListenerdecorator.After that, we'll use an Angular
@OutputandEventEmitter.And finally, we’ll use the
Renderer2class and itslisten()method.
Alright, let’s get into it!
Using Angular Event Binding
In Angular, event binding is used in the simple of cases and we probably want to use it almost as a default scenario anytime we need to listen for events on an element. Only if event binding doesn't work for us should we reach for something else.
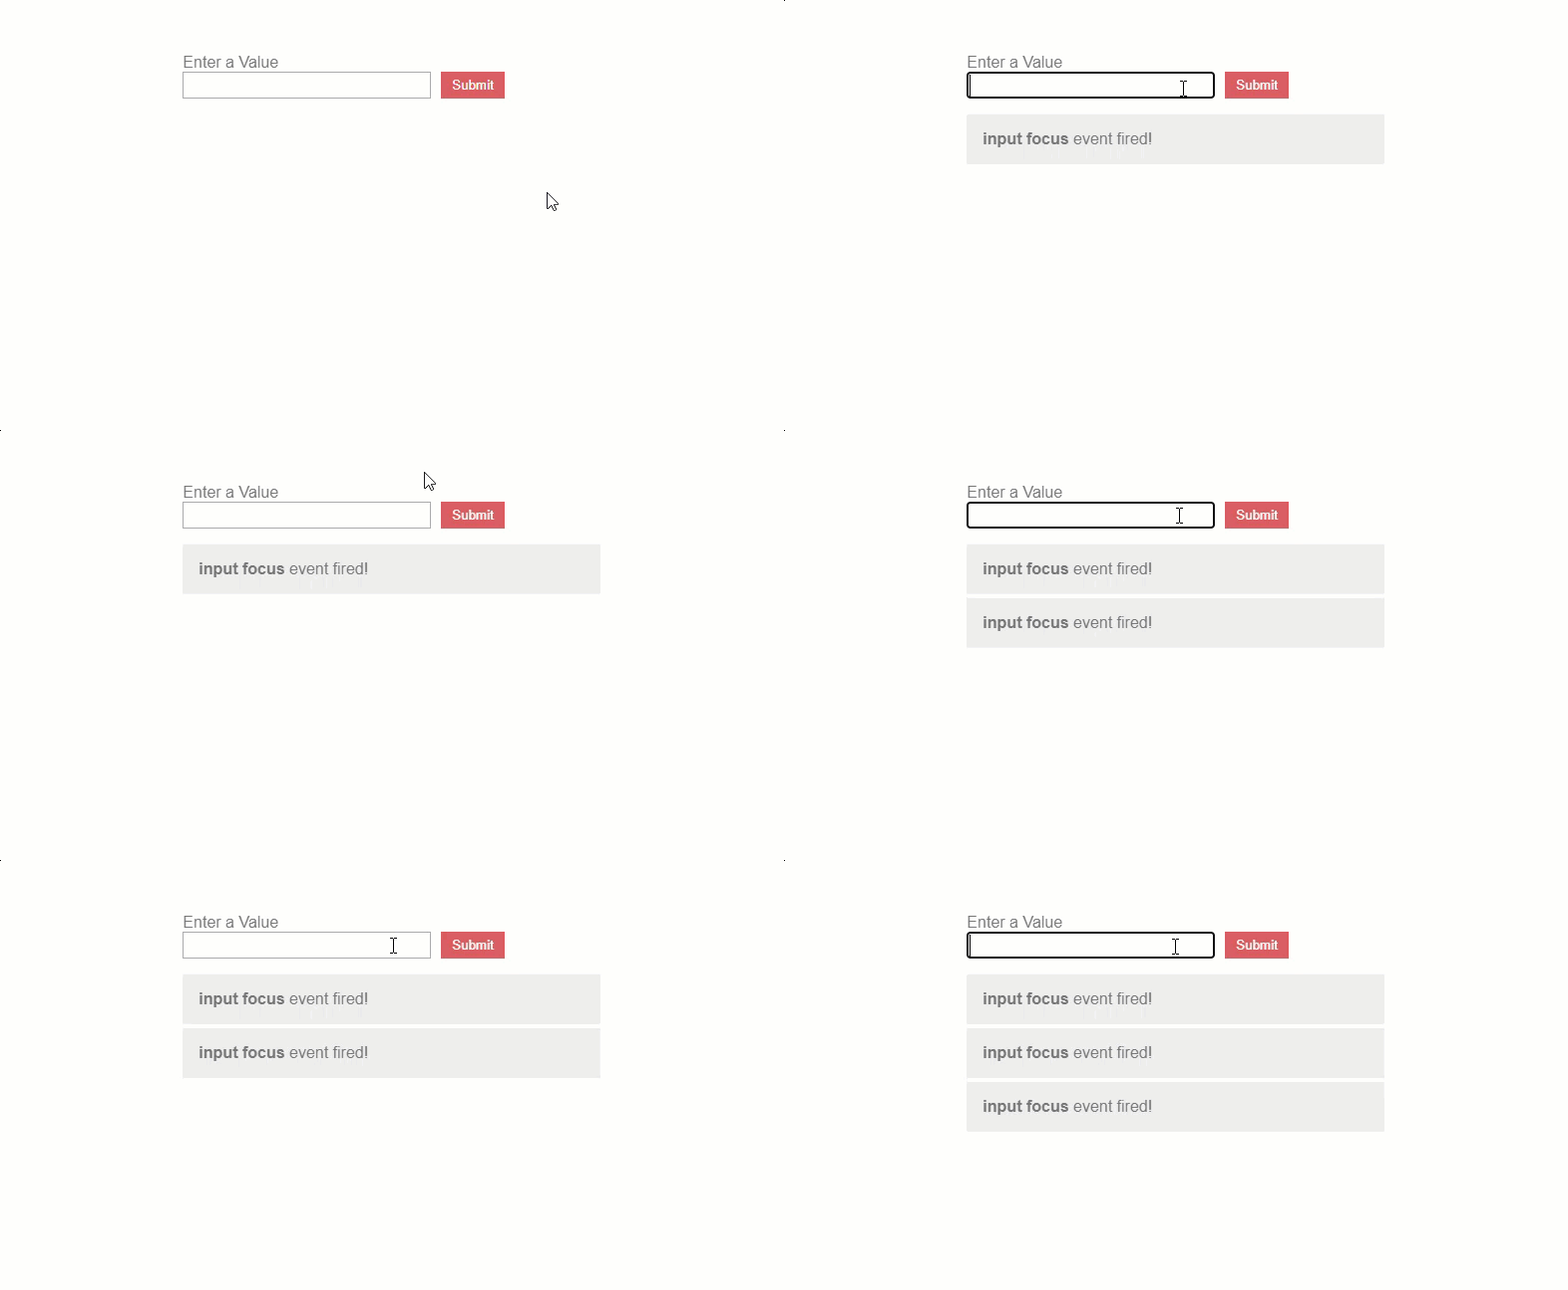
Event binding in Angular is pretty simple to set up, we'll just use parentheses and whatever event we need. In this case, we're going to bind to the focus event. And, when we focus in our text box, we just want to push a string value, “input focus”, into our messages array in this component.
example.component.ts
<input
    ...
    (focus)="messages.push('input focus')" />
Now when we focus, we see that an event fires. Then, when we focus again the event continues to fire.
We can add other events too so how about a blur event?
<input
    ...
    (blur)="messages.push('input blur')" />
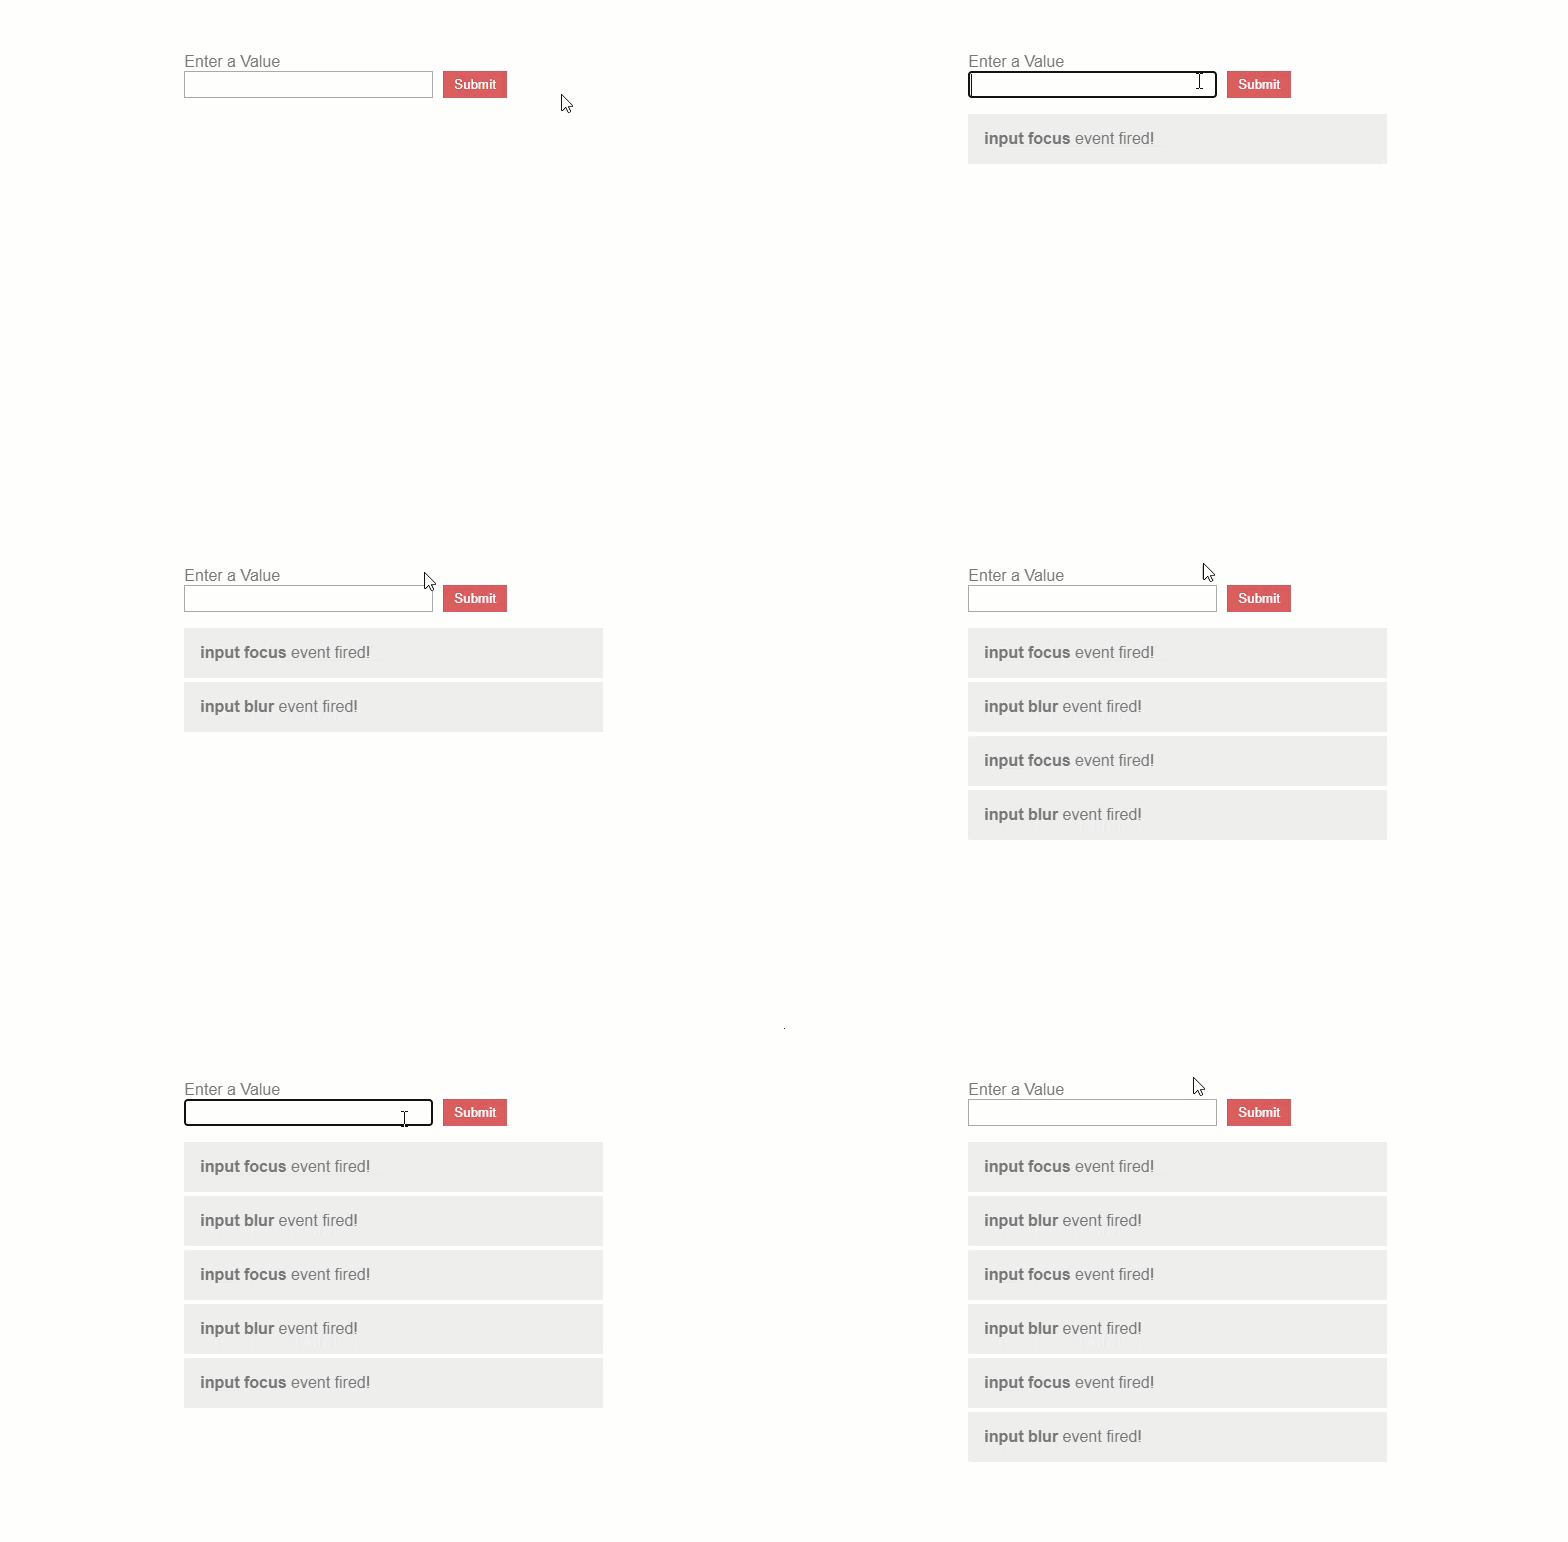
We can even do things like listen for an input event on our textbox. So, if we add a value, every time we type a keystroke, we'll see an event fire for “input change”.
<input
    ...
    (input)="messages.push('input input')" />
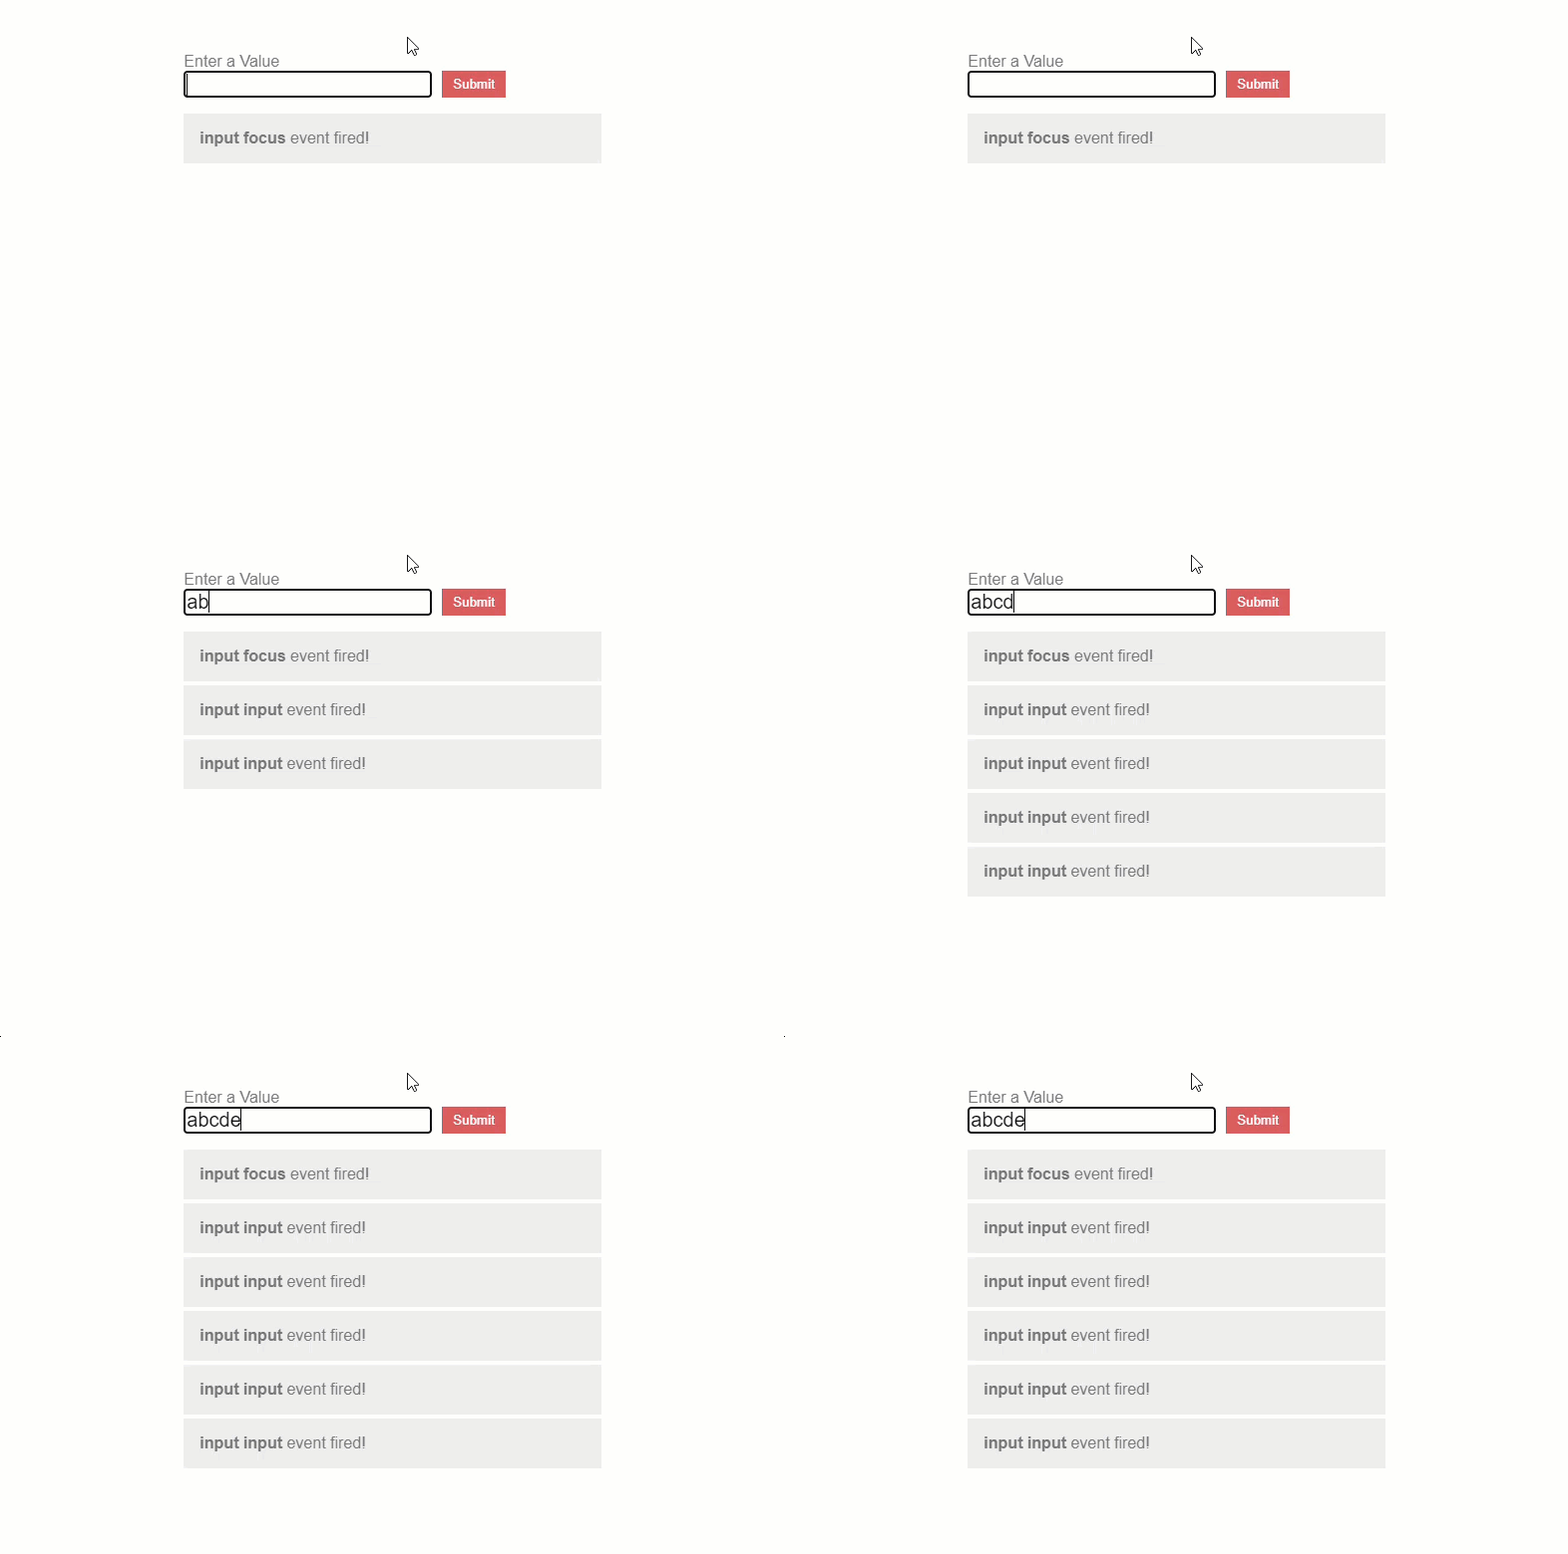
Now what if we need to bind to an event on the host of a directive or a component? Well, in angular we have the @HostListener decorator that we can use to do this exact sort of thing.
Using the @HostListener Decorator on a Directive
Alright in this example, in order to demonstrate how @HostListener works, I went ahead and added this appHostListener directive on our button.
<button appHostListener>
    Submit
</button>
What we're going to do is within this directive we're going to listen for click events on the actual button itself. But we want to do this every time we put this directive on so in this case, we're going to use our @HostListener event.
So, let's go into the directive and add our @HostListener decorator. We need to make sure and import this from Angular Core. Then we'll bind this click event right within our decorator and pass along our event with a $event. We'll name our function handleHostClick() and we'll have our event within this which will be of type PointerEvent.
host-listener.directive.ts
import { ..., HostListener } from '@angular/core';

@Directive({selector: '[appHostListener]'})
export class HostListenerDirective {
    @HostListener('click', ['$event']) handleHostClick(event: PointerEvent) {
    }
}
Now, within this listener, to prevent the form from submitting when we click this button, let's add preventDefault(), and then add an alert for when the button is clicked.
@HostListener('click', ['$event']) handleHostClick(event: PointerEvent) {
    event.preventDefault();
    alert('Button Clicked!');
}
Okay so let's see what happens.
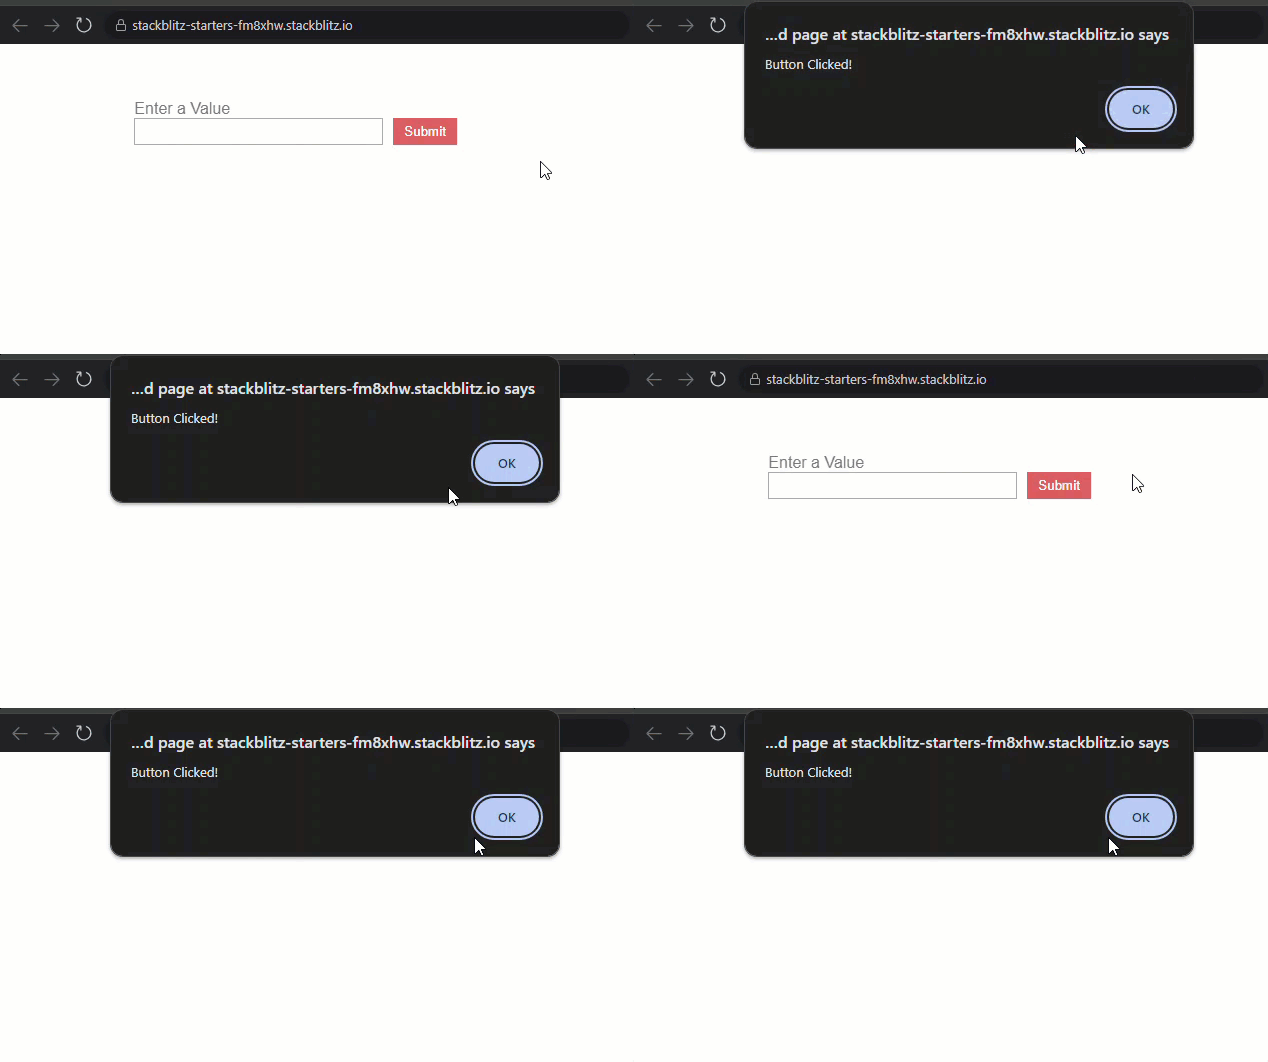
And there we go, an alert fires with our "Button Clicked!" message.
So, what if we actually wanted to react to the fact that our button was clicked and do the same thing that we're doing when the input events fire? So, when our button gets clicked we want to add to our messages array.
Well, we have a way that we can do this from our directive. We can build our own custom event using an Angular @Output and an EventEmitter.
Using a Custom Event With an @Output and EventEmitter
Okay so we'll add our @Output and EventEmitter within our host listener directive. To do this let's start by adding an @Output. This comes from Angular Core as well, so we need to make sure it's imported. We'll name this output "buttonClick" and set it equal to a new EventEmitter that will emit a PointerEvent. EventEmitter also needs to be imported from Angular Core.
import { ..., Output, EventEmitter } from '@angular/core';

@Directive({selector: '[appHostListener]'})
export class HostListenerDirective {
    @Output() buttonClick = new EventEmitter<PointerEvent>();
}
Now in our HostListener function, instead of alerting that the button was clicked we're going to emit the buttonClick event.
@HostListener('click', ['$event']) handleHostClick(event: PointerEvent) {
    ...
    this.buttonClick.emit();
}
Now we need to go wire up this buttonClick event. Back over to our example component template on our button we'll wire up a custom event and we'll push a new “button click” message into our list when this happens.
example.component.ts
<button appHostListener (buttonClick)="messages.push('button click')">
    Submit
</button>
Okay now let's see what happens when we click our button.
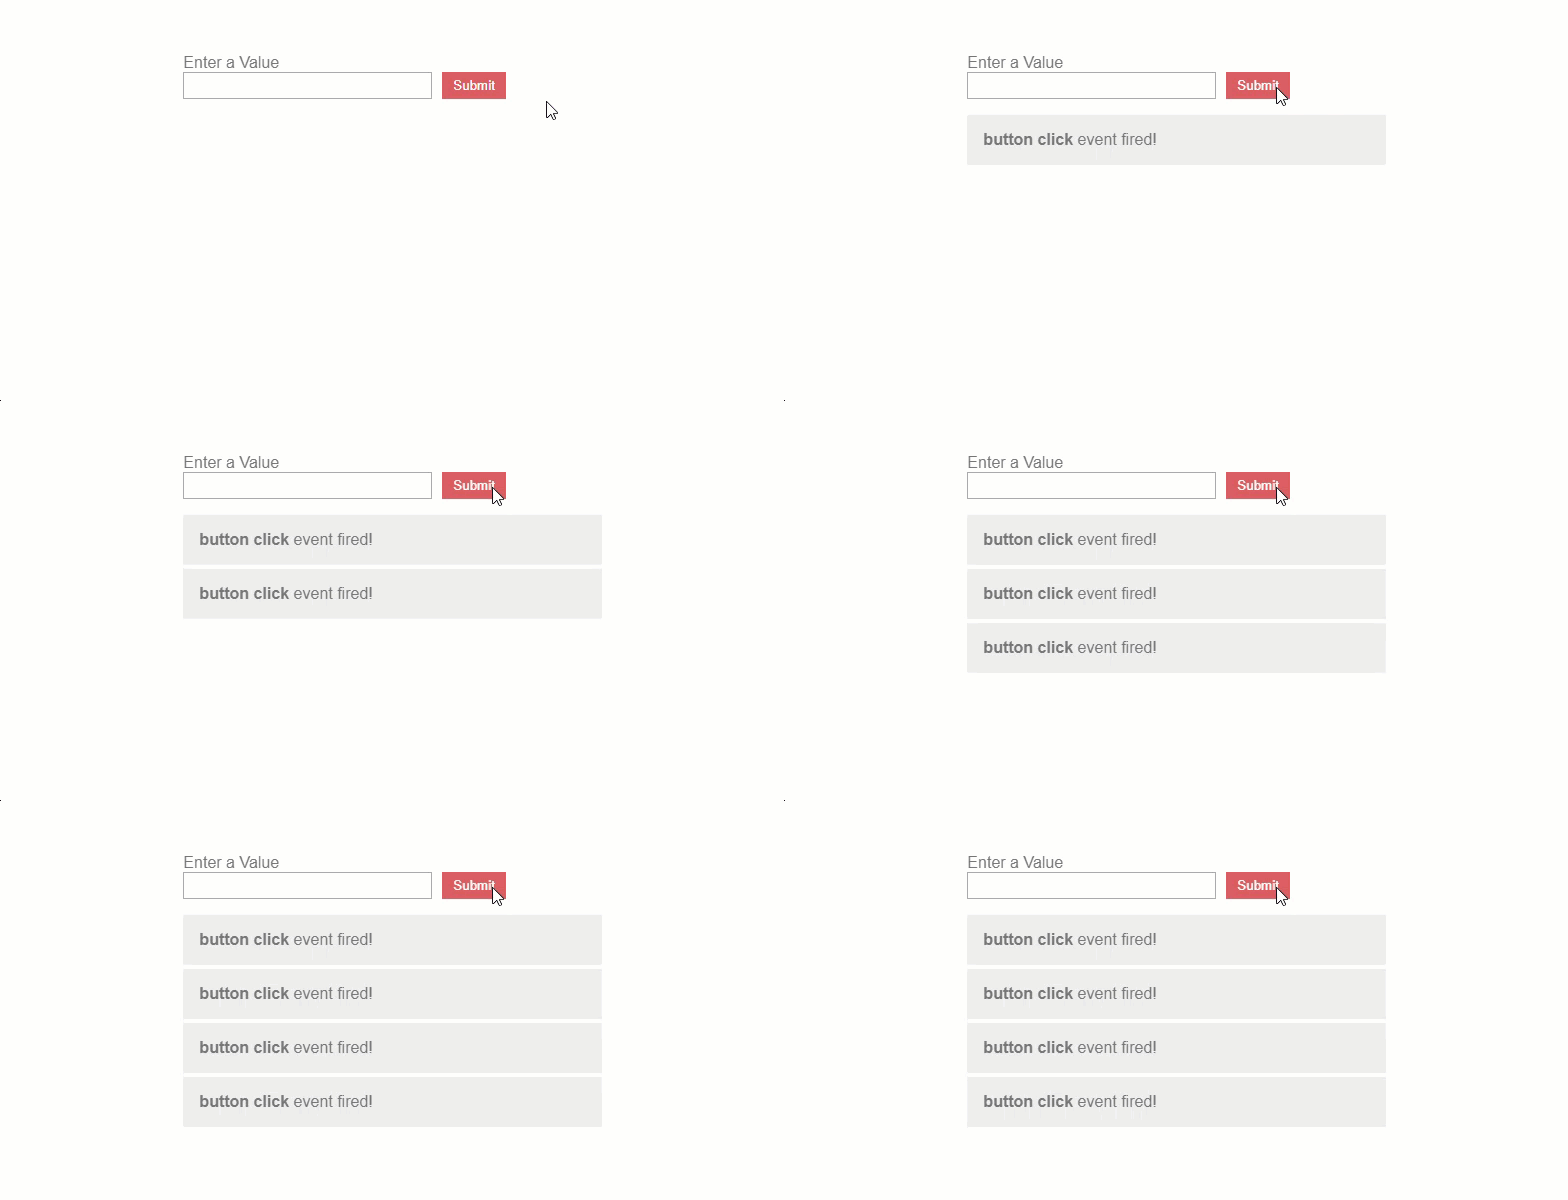
And there we go, our custom event now fires and properly adds a message into the list.
Using the Renderer2 listen() Method
Okay so now this time we want to listen to click events on our document as a whole and react to those. So how can we do this? Well, we can use the Renderer2 class because it has the ability to take in any element and listen to any event on fired on that element. So, let's look at how we would do this.
Since we only want to listen for these global clicks in this example component when it lives on the page, we're going to do it right from within this component which makes the Renderer2 a perfect candidate for what we're trying to do.
To start, we need to import the Renderer2 and provide it in the constructor. We'll also need our ngOnInit() method and our ngOnDestroy() method as well.
example.component.ts
import { Component, OnDestroy, OnInit, Renderer2 } from '@angular/core';

@Component({
  selector: 'app-example',
  templateUrl: './example.component.html',
  styleUrls: ['./example.component.css'],
})
export class ExampleComponent implements OnInit, OnDestroy {
    constructor(private renderer: Renderer2) {}
}
Now what we're going to do is add a variable for our bodyClickListener and we'll type this as a void function.
export class ExampleComponent implements OnInit, OnDestroy {
    private bodyClickListener?: () => void;
    ...
}
Now we'll set this using the Renderer2 and the listen() function. The first parameter that this listen function takes is the element that we want to listen on, so in this case, it'll be document.body. The next parameter is the event that we want to listen for, in this case, it's going to be the click event. And then we have the callback that we want to fire every time this event fires. For this we want to push a “body click” message into our messages array.
ngOnInit() {
    this.bodyClickListener = this.renderer.listen(
        document.body,
        'click',
        (event) => {
            this.messages.push('body click');
        }
    );
}
Okay so how'd we do?
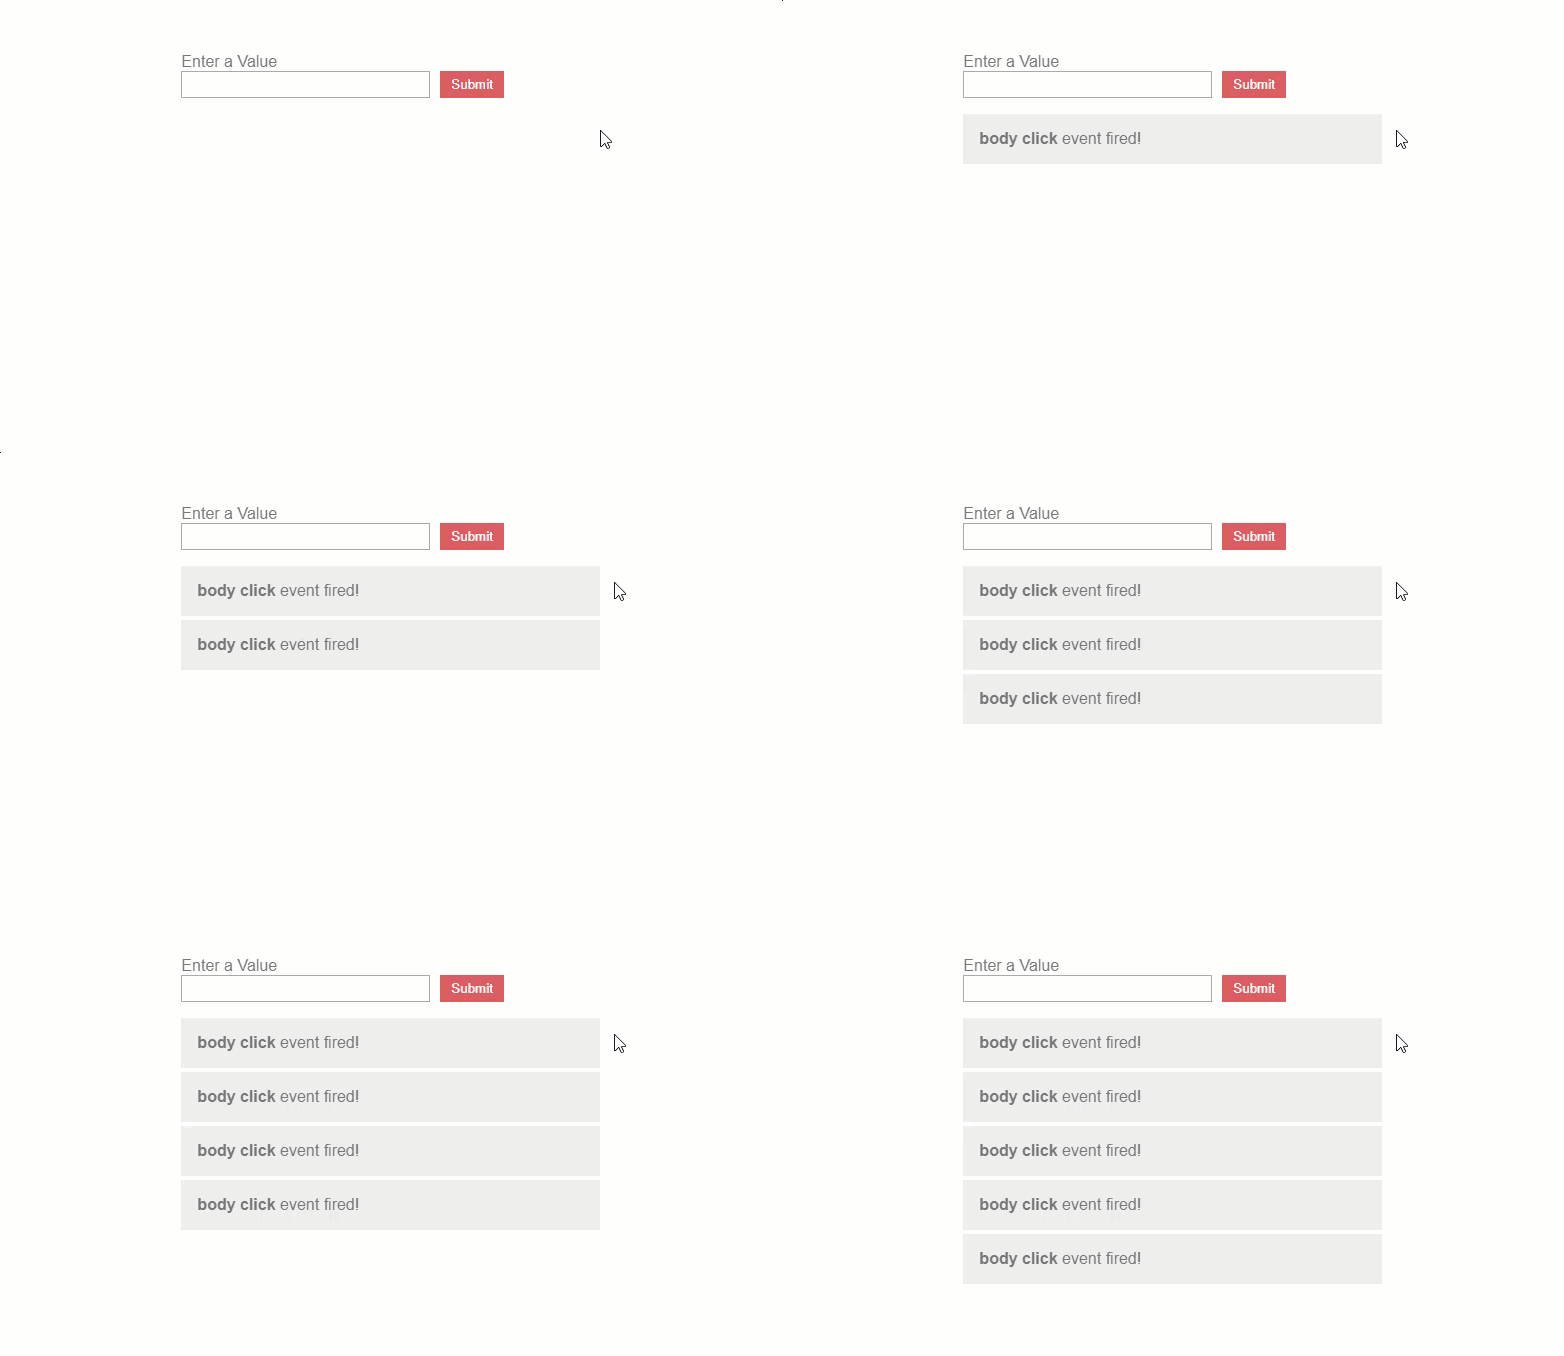
There we go, clicking anywhere on the body fires an event.
Now when doing this we also need to make sure that when this component is destroyed that we properly clean up the event listener to avoid performance issues and memory leaks. We do this within the ngOnDestroy method and if our bodyClickListener is defined we simply need to call the void function.
ngOnDestroy() {
    if (this.bodyClickListener) {
        this.bodyClickListener();
    }
  }
There now this will be properly cleaned up when the component is destroyed and prevent any memory leaks.
So we now have 4 different ways to listen to events in Angular. First, we have class binding for more standard cases where we simply need to react to an event on an element. Then, we have the @HostListener decorator which allows us to listen to events on the host element of our components and directives. Then, we can add our own custom events with an @Output and an EventEmitter. And finally, we can use the Renderer2listen() method if nothing else works.
So hopefully these examples give you a few extra options for building in Angular.
Found This Helpful?
If you found this article helpful and want to show some love, you can always buy me a coffee!
Want to See It in Action?
Check out the demo code and examples of these techniques in the in the stackblitz example below. If you have any questions or thoughts, don’t hesitate to leave a comment.
