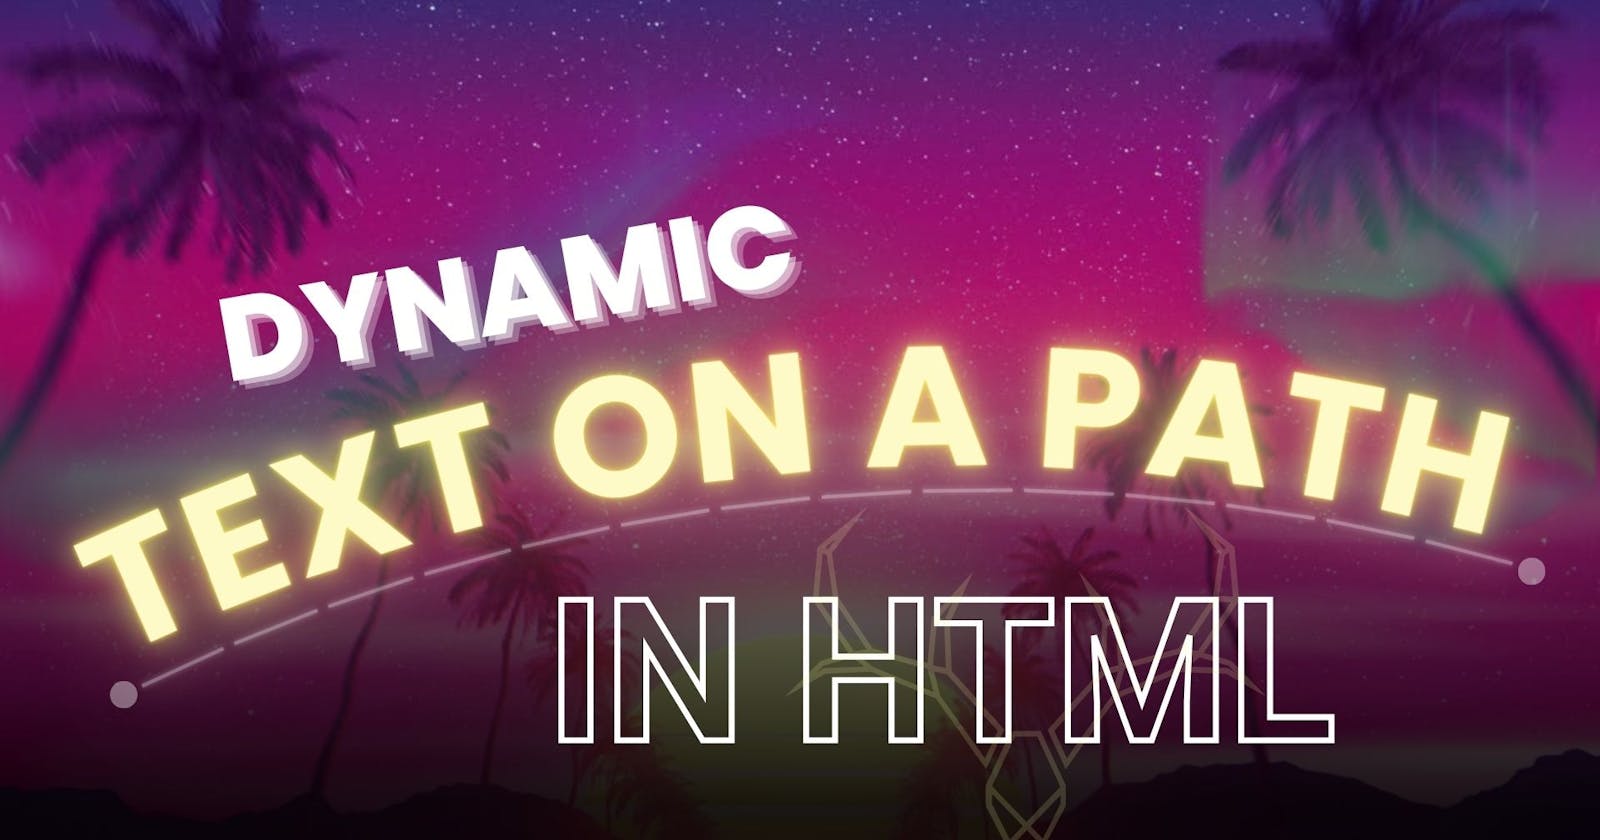
Crafting Dynamic Text Paths with HTML, SVG, and CSS: A Guide to Responsive and Accessible Graphics
When it comes to incorporating irregular shaped text into web projects, we often end up using images. However, there may be a better way – using inline SVG and CSS to create dynamic, responsive, and accessible graphics directly within our HTML. In this post, we'll walk you through the process of achieving this, ensuring our designs are on point while maintaining accessibility and SEO friendliness.
The Power of Inline SVG
Have you ever encountered design elements that you thought could only be achieved with externally sourced images? Something like this for example:

Well, this may not be your only option. By leveraging inline SVG and some simple CSS, we can build captivating graphics right within our HTML documents. In this post I'll show you exactly how to do this.
Working with SVG
To begin you’ll need to start with a vector graphic of your design. Also you’ll need to be able to edit it yourself in a vector graphics editor like Adobe Illustrator, or you’ll need to have someone who can help you do so. This is because we need to edit our images to add an invisible path for our text to be placed on. In my case, these were my original graphics:
I opened them up in illustrator and added a path to each of them for the text to sit on. I placed the path for the first banner banner here.
For the purposes of this demo I added a black stroke to it just so that you can see where the path is placed but in the end it will be invisible. As you can see, I made the path span the entire width of the main region of my banner so that the text can expand all along this path accommodating phrases of varying lengths.
For the second banner I did the same. Here’s where I placed the text path:
After your invisible text paths have been added, you’ll just need to export the banners as SVG. At this point, it's probably a good idea to optimize these SVG while you're at it. I like to use Jake Archibald's SVGOMG tool when doing this type of thing.
Creating the Inline SVG Banner
Now that you have your optimized SVG graphic with the invisible text path, let's integrate it into your HTML. You'll want to and paste it directly into our document:
<!DOCTYPE html>
<html>
  <body>
    <svg xmlns="http://www.w3.org/2000/svg" viewBox="0 0 691.3 201.8">
      <g id="banner">
        <path d="M148.6 79.6V21.7c-6.6-3.1-13.7-5.6-20.7-7.7C86.6 1.7 42.7-1.8 0 3.7c25.3 17.2 47.2 39.5 64.1 65.1-20.7 9.5-39.2 23.8-53.6 41.4C52 112.3 93 123.8 129.3 144l19.3-64.4zM549.7 121.8v57.9c45 16.4 94 22 141.6 16.2-27.4-15.1-50.8-37.4-67.1-64 13.4-3.9 26.3-9.4 38-16.9 10.6-6.7 20.2-15.1 28-24.8-39-3.5-77.1-15.7-114.3-28.4l-26.2 60z" class="st0"/>
        <path d="M105 46c0-13.7 11.2-24.8 24.9-24.6l18.7.3v46.5c-13.5-4.8-26.5-11.1-38.5-18.8L105 46zM549.7 179.7v-39.9c14.8 5.8 28.9 13.3 41.7 22.6 0 9.6-7.8 17.4-17.4 17.4h-24.3z" class="st1"/>
        <path d="M591.3 160.8v1.6c-26.5-19.1-58.4-31-90.9-35.1-45.1-5.7-91.4 3-133.2 20.8-35.8 15.2-69 37-106.5 47.3-52.4 14.5-111 4-155.7-26.8V46.1C149.7 77 208.2 87.4 260.7 73c37.5-10.3 70.7-32.1 106.5-47.3C409.1 7.8 455.3-.9 500.4 4.8c32.5 4.1 64.4 16 90.9 35.1v120.9z" style="fill:#3dc0d1"/>
      </g>
      <path id="text-path" d="M108.7 124.1c44.2 29 101 38.4 152 24.4 37.5-10.3 70.7-32.1 106.5-47.3 41.9-17.8 88.1-26.4 133.2-20.8 31.7 4 62.7 15.3 88.7 33.6"/>
    </svg>
  </body>
</html>
Now we can add the text using a text node. And, Since we’re placing the text on a path, we’ll use a textPath element within our text node:
<svg xmlns="http://www.w3.org/2000/svg" viewBox="0 0 691.3 201.8">
  ...
  <path id="text-path" d="M108.7 124.1c44.2 29 101 38.4 152 24.4 37.5-10.3 70.7-32.1 106.5-47.3 41.9-17.8 88.1-26.4 133.2-20.8 31.7 4 62.7 15.3 88.7 33.6"/>
  <text>
    <textPath>Welcome Everyone!</textPath>
  </text>
</svg>
To link the text to the path in our graphic we add an href to our textPath referencing the id of the invisible path for our text:
<svg xmlns="http://www.w3.org/2000/svg" viewBox="0 0 691.3 201.8">
  ...
  <path id="text-path" d="M108.7 124.1c44.2 29 101 38.4 152 24.4 37.5-10.3 70.7-32.1 106.5-47.3 41.9-17.8 88.1-26.4 133.2-20.8 31.7 4 62.7 15.3 88.7 33.6"/>
  <text>
    <text>
      <textPath href="#text-path">Welcome Everyone!</textPath>
    </text>
  </text>
</svg>
Now our text should appear on our path but it won't be aligned properly. To center the text, we will need to give our path a length that is divisible by two, in our case let's just make it two. And we'll add a startOffset of one to our textPath element which will now make it start in the center of the path:
<svg xmlns="http://www.w3.org/2000/svg" viewBox="0 0 691.3 201.8">
  ...
  <path id="text-path" pathLength="2" d="M108.7 124.1c44.2 29 101 38.4 152 24.4 37.5-10.3 70.7-32.1 106.5-47.3 41.9-17.8 88.1-26.4 133.2-20.8 31.7 4 62.7 15.3 88.7 33.6"/>
  <text>
    <text>
      <textPath href="#text-path" startOffset="1">Welcome Everyone!</textPath>
    </text>
  </text>
</svg>
At this point it still isn't quite centered. So we can add a text-anchor style to properly align this.
textPath {
  text-anchor: middle;
}
There we go, now our text is properly centered. The final styles I added to my text are:
textPath {
  fill: #024949;
  font-size: 225%;
  font-weight: 700;
  letter-spacing: 0.02em;
  text-anchor: middle;
  text-shadow: 0 1px 0 rgba(255, 255, 255, 0.8);
}
And, when we resize our viewport we can see that everything scales great. And what's great about this is that the text can be changed by simply editing the HTML. Of course, if we add too much text it will break at some point but it does have some flexibility. This method is not only visually appealing but also accessible and SEO-friendly, as the text is embedded in the document like any other text.
Conclusion
Using inline SVG and CSS, you can achieve some pretty neat stuff directly within your HTML without the need for images. The combination of accessibility, responsiveness, and SEO-friendliness makes this approach a valuable addition to your web design toolkit. Whether you're displaying messages, promotions, or information, this method offers a creative way to enhance your website's visual appeal in certain circumstances.
Found This Helpful?
If you found this article helpful and want to show some love, you can always buy me a coffee!
Want to See It in Action?
Check out the demo code and examples of these techniques in the in the codepen example below. If you have any questions or thoughts, don’t hesitate to leave a comment.


